
Introduction to Native Seed Collection
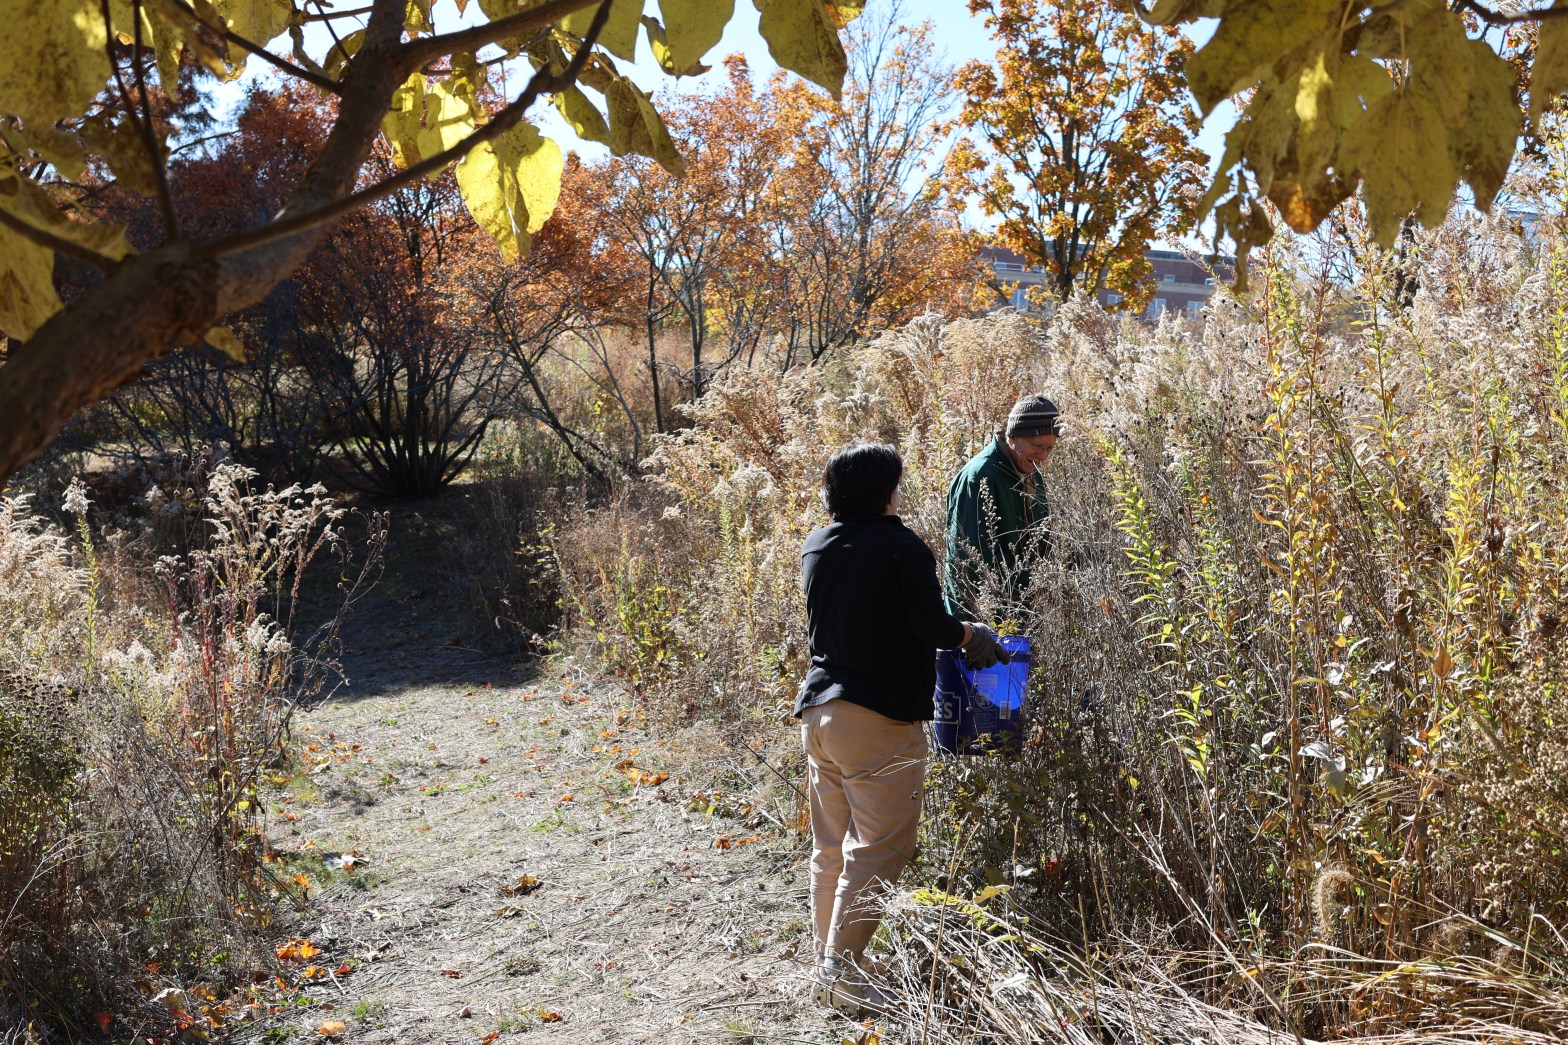
Seed collection is a great way to increase the diversity and abundance of native plants in your landscape. However, collecting seed at the right time and place—as well as cleaning and storing it correctly—is critical for your seeds to stay viable and germinate. Last fall, I led volunteers in collecting seed at the Red Oak Rain Garden and neighboring pond, and over the past several months, we cleaned and processed the seeds, then donated most of them to the Urbana Free Library’s Seed Exchange Program. Some seeds, however, I retained to grow and are flourishing indoors as I type!
Before I delve into the collection process, please know:
Ethical seed collection is vitally important! Only collect native plant seeds from locations where you have expressed permission to do so. Without proper knowledge of a site or species, seed collection can harm the local ecosystem, allowing for invasive species to further harm biodiversity.
Collecting the Seed
Last fall, RORG Volunteers gathered seeds from several of our species—particularly ones that produce ample seed. These included compass plant (Silphium laciniatum), rosinweed (Silphium integrifolium), nodding onion (Allium cernuum), gray-headed coneflower (Ratibida pinnata), and purple poppy mallow (Callirhoe involucrata). We removed the dry, brown seed heads, and the seeds fell off easily; two simple signs to know the seeds were mature and ready for collection. Seed heads that are still fleshy and green are not mature and will not yield any viable seeds to germinate.
We collected seed from August through October. But the specific optimal timing depends on your species and region. If you are interested in collecting native plant seeds, keep an eye on your local plants to see if the seed heads look mature and ready for collection.
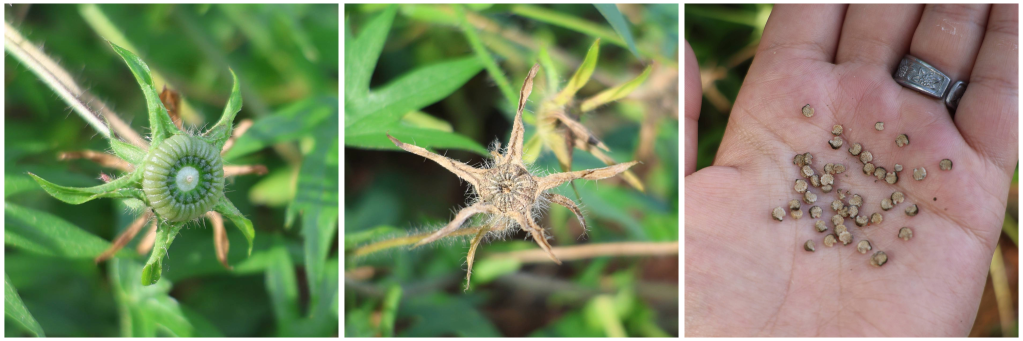
Seeds are often surrounded by other parts of the plant, which are called chaff in the world of seed collecting. While chaff does not harm the seeds, cleaning the seeds by removing the chaff helps increase the concentration of seeds that you’ve collected. This is especially important when you have plans to seed a large area and specific amounts of seed are needed to cover it. While we were collecting at the rain garden and neighboring pond, we did not worry about the chaff at that moment.
Cleaning the Seed
After this, we let our collections dry out in a cool, dark, dry space. Air flow is essential to keep the seeds dry and avoid them from premature germination or mold growth. This process takes at least a couple weeks, turning the plant material every so often. Then, it’s time to clean the seed.
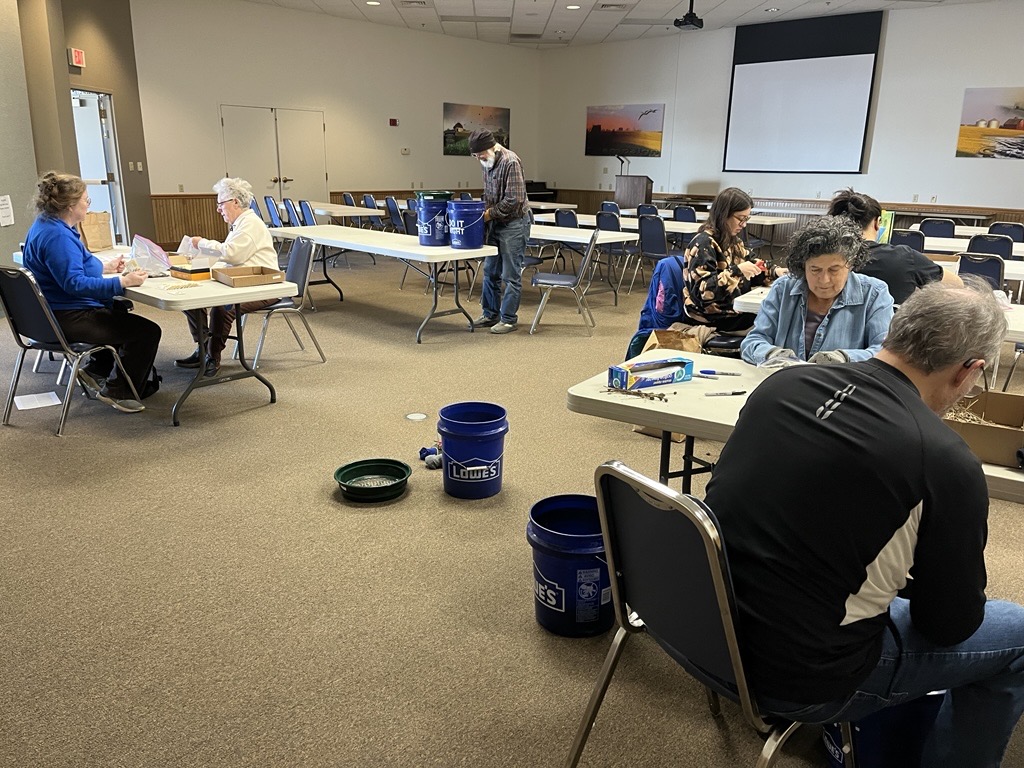
During the colder months, volunteers worked to clean the seeds from the chaff. We did this by hand and foot (yes, foot), using plastic bags and sifting pans. Seeds that separated easily, such as Allium cernuum, could be easily put through the smallest sifting pans to get the dark black seeds alone. The sifting pans fit over five-gallon buckets which was very helpful. Other seeds, like Ratibida pinnata, needed more pressure to separate from their chaff. In this case, we bagged handfuls into gallon-sized plastic bags and carefully, yet forcefully, stepped on them to get the seeds to fall off the stem. This process took a bit longer, stopping every so often to move the seed around, taking out any extra-large chaff, and ensuring we didn’t poke holes in the bags.
Packaging, distribution, and growing
Once the seed was mostly clean, we were able to package them. We put spoonfuls of seed into small seed packets and labeled them with the species name, their growing requirements, and date of packaging. If you are reading this now, there’s a chance you’ll find these seeds at the Urbana Free Library. Nearly 500 packets were donated from the Red Oak Rain Garden this spring.
With native seeds it is important to understand the methods that may be needed for successful germination. Oftentimes, this is some type of cold stratification, which simulates what happens when seeds experience the winter’s freeze-thaw cycles naturally. This can be artificially done by putting the seeds on a wet paper towel, in a bag, and into a refrigerator for however long is needed for the species. Thirty to ninety days is typical. However, other seeds may require scarification (scarring the seeds), a hot water treatment, and many other things! To learn about each species’ germination methods, visit Prairie Moon Nursery’s website. Generally, it’s easiest to scatter seeds in the fall and have nature do the hard work for you. Be aware that animals enjoy the seeds too, so not all will become plants.
If you are interested in learning how to start native plants from seed indoors, watch for Illinois Extension’s future video series, being created to help increase native plant availability across Illinois. The videos will detail the materials, timing, and process of growing native plants from seeds indoors.
Thanks to the Burt Family Foundation that funded the supplies for this project and to our colleague Brodie Dunn for administering this gift.

Madelyn Craft is a recent graduate of the University of Illinois with a degree in Sustainable Design and minors in Landscape Studies and Natural Resource Conservation. She is most interested in native plants, green infrastructure, and environmental restoration. She implements aspects of both green infrastructure and landscape restoration to create urban spaces that are both aesthetically pleasing and environmentally beneficial in the hopes of building healthier communities. In her free time, she enjoys birdwatching and reading.

