

By Ariel Gomez, RORG Student Team Member
Follow along as we show you the general steps to making your own Rain Garden Monster! We encourage you to use your imagination and have fun making these natural companions.

For a print version, click here.
To see a video of the Monster Friends at RORG, click here.
Timeframe:
- Finding supplies in the garden: 10-15min
- Glue gun set up: ~5min
- Creation time:15 min
- If using puffy paint, allow it to dry for 2-3 hours to ensure the paint has dried solid.
Step 1
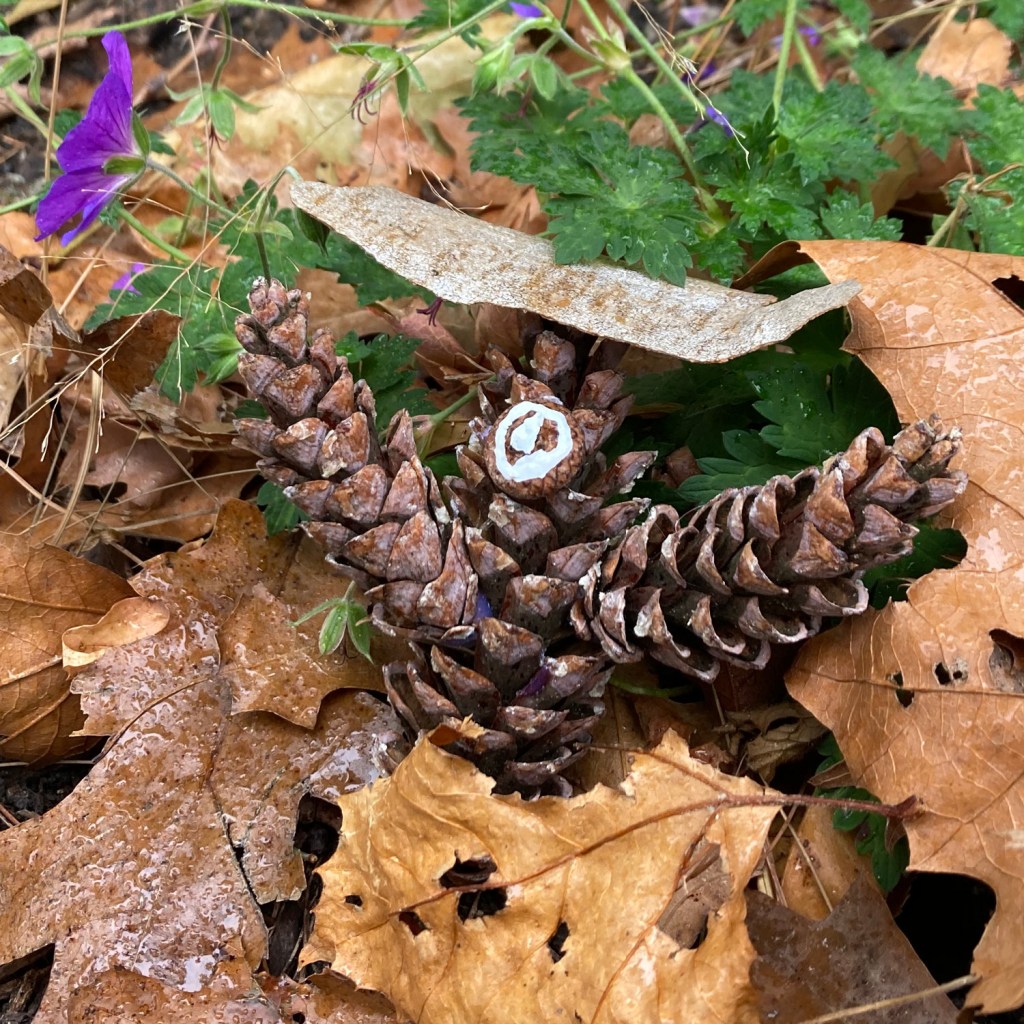
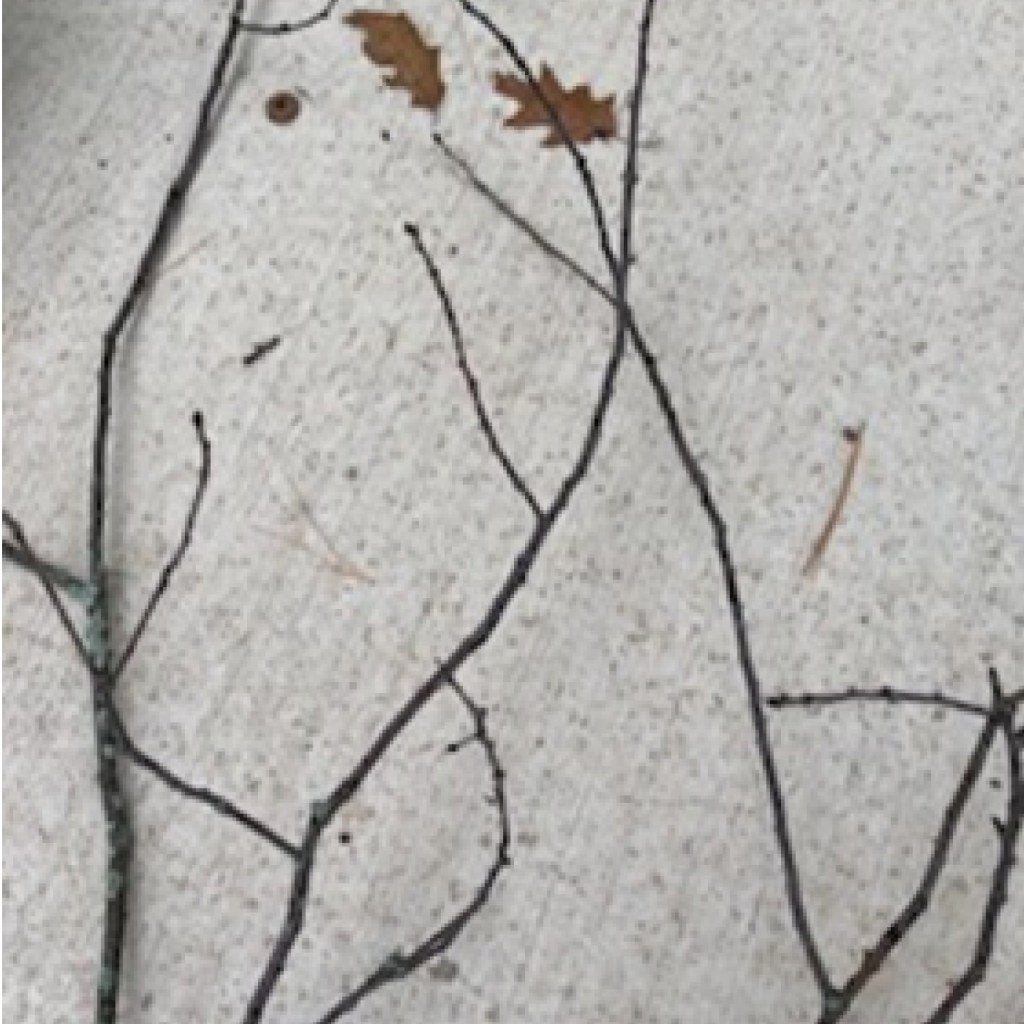
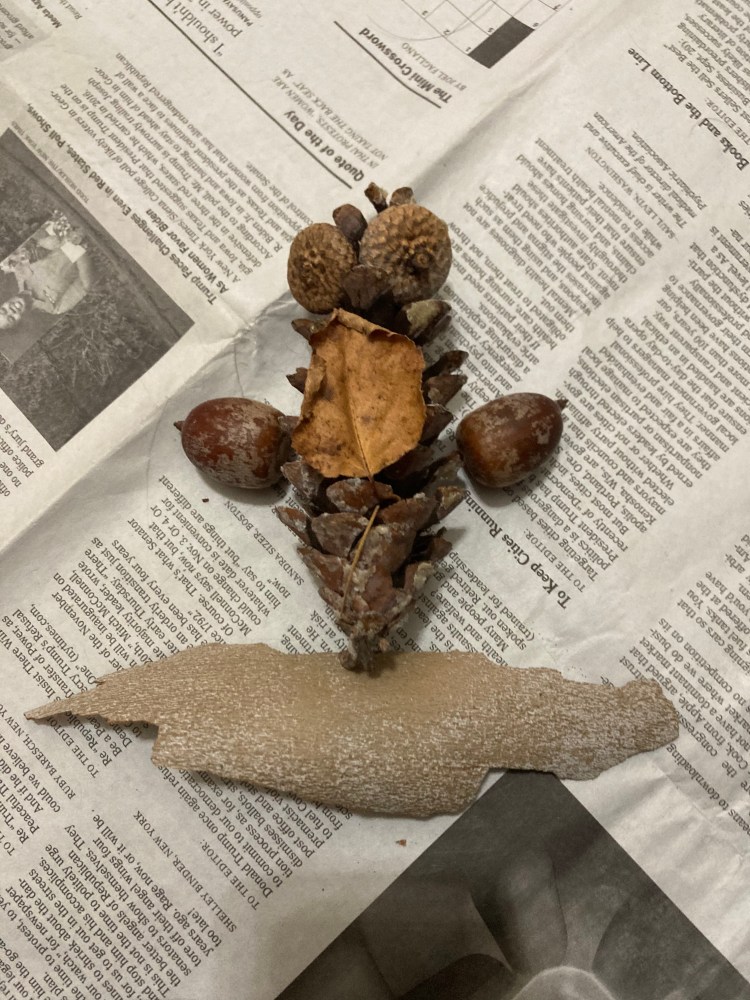
Visit the garden and acquire supplies. Walk around and enjoy the last glimpses of autumn beauty in the garden!
- List of goodies found in the garden that you can use:
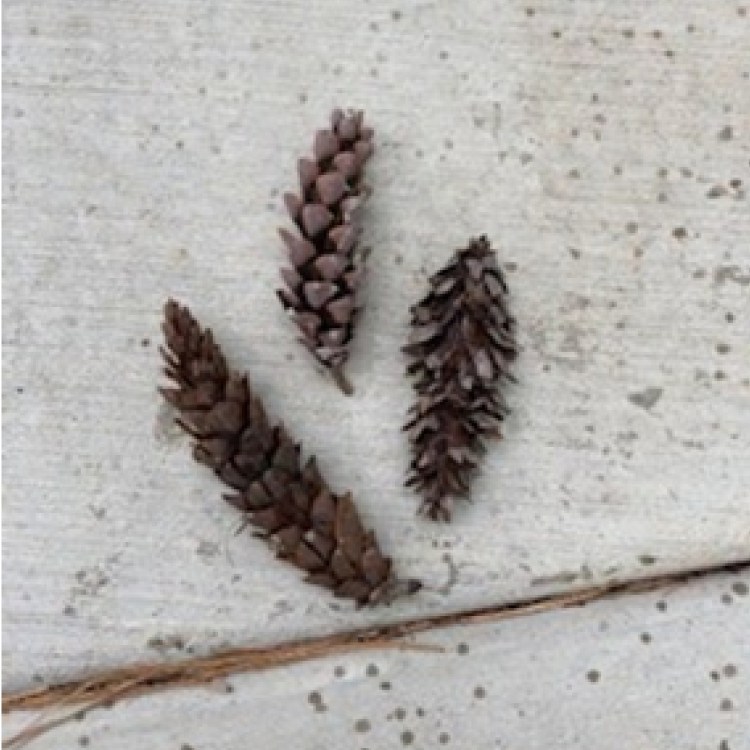
- Pinecones
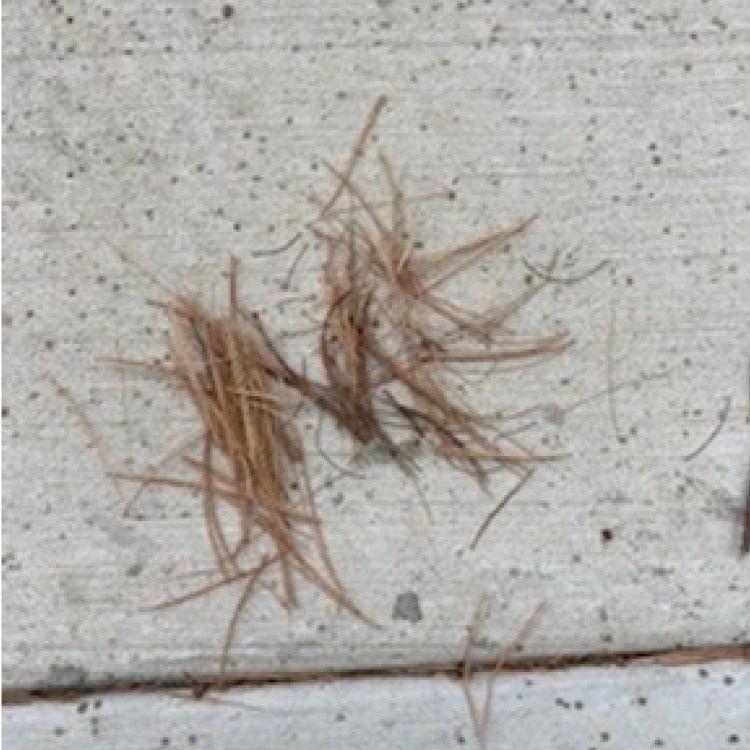
- Brown evergreen needles, preferably ones that are still in bunches but if not that’s ok! We have a solution to that.
- Acorns and acorn caps
- Sycamore bark
- Fallen sticks and twigs
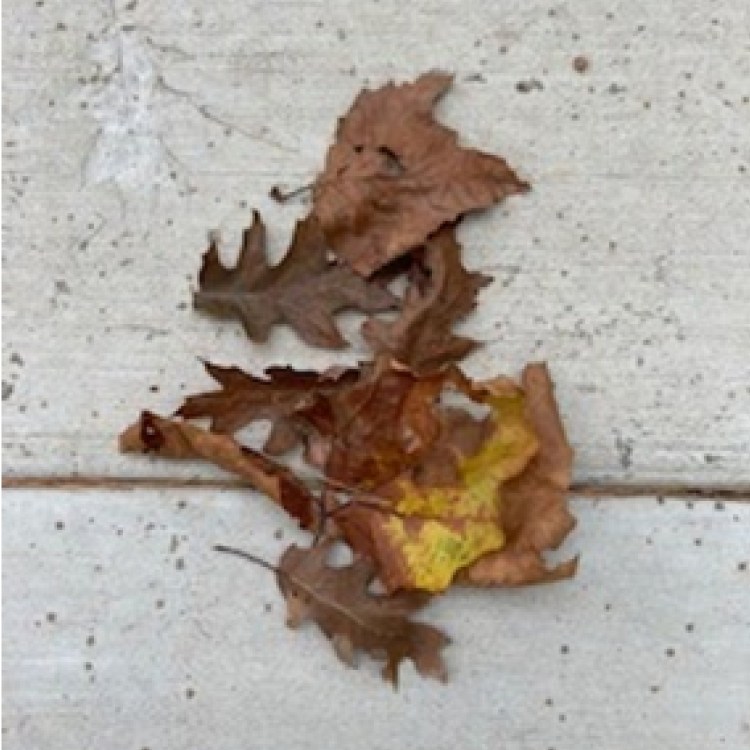
- Fallen leaves


- Additional items you will need from your local art supply/craft store:
- Hot glue gun and glue sticks
- Puffy Paint
- OPTIONAL: Biodegradable Glitter (preferably black, green, or purple but you can use whatever colors you would like!)
We welcome you to get creative with your monsters! You can use whatever you have around the house to add to your monster such as:
- Googly eyes
- Beads
- Paint
- Buttons
Step 2
Go home and ask a trusted adult to get out the hot glue gun and gather any of the other supplies you may need.
Step 3
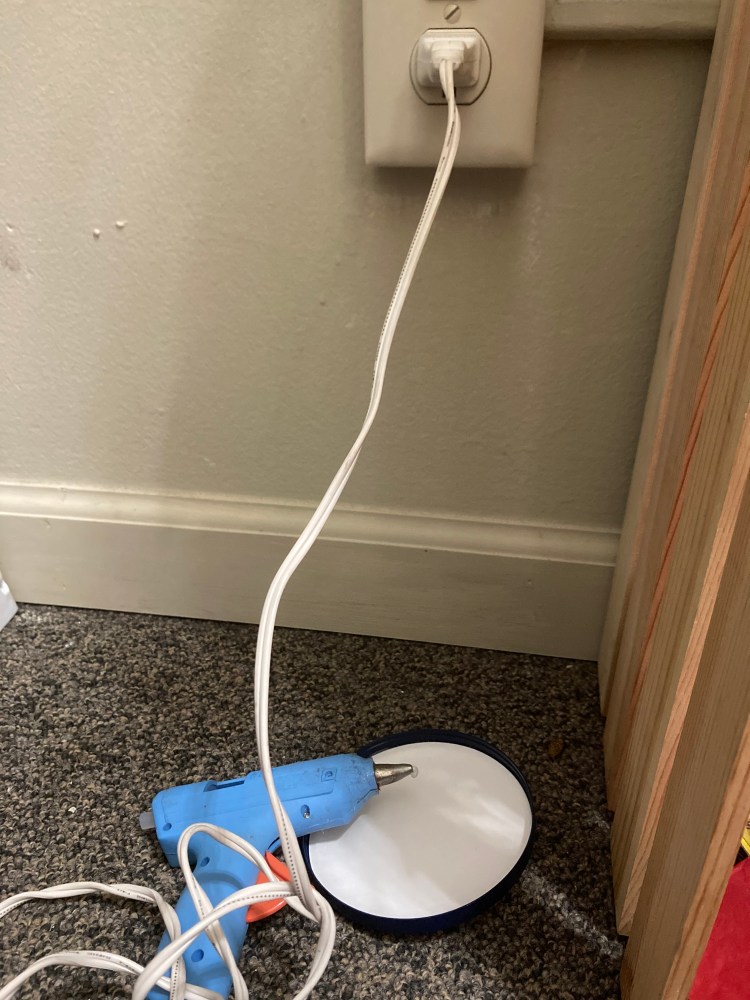
Prepare the glue gun and your supplies.
- Have a parent plug the hot glue gun in and set it aside while it heats up (this should take no more than 5 minutes).
- BEWARE: The glue gun gets very hot! Be very careful around it!!
- While the hot glue gun is warming up, gather the fall goodies that you collected and set them near your workstation.
With a trusted adult, heat up the hot glue gun
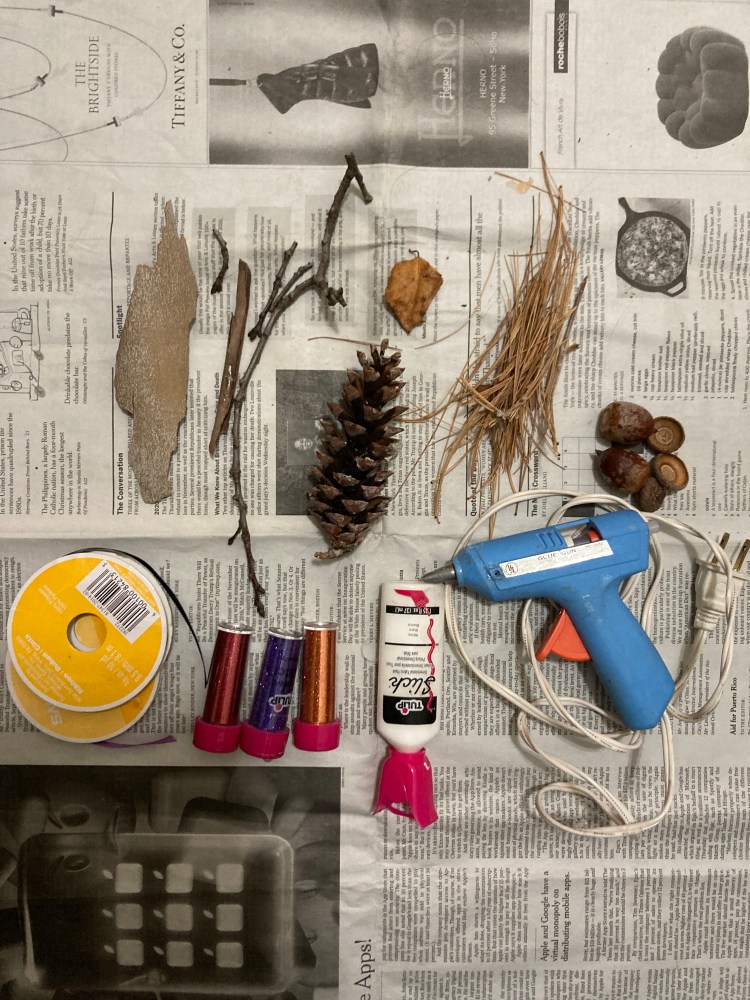
Lay out your supplies
Step 4
While you’re waiting, play around with the different materials that you gathered and create a rough draft of what you want your monster to look like.
Below are some examples of monsters that I created:
Step 5
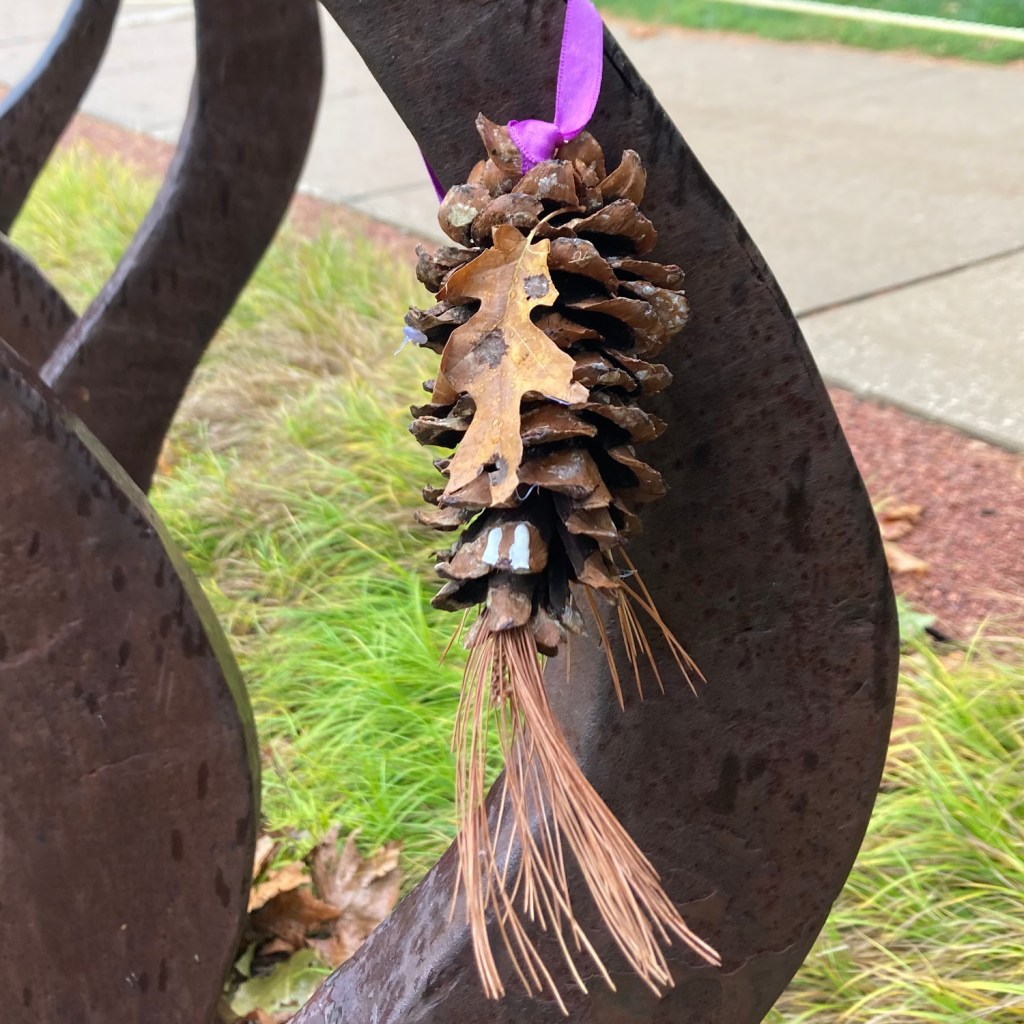
Once the glue gun is ready, it’s time to start bringing your monster to life! We decided to make a Monstrous Mermaid.
General Rules of Guidance
- With the help of a trusted adult, start gluing together your monster that you have designed.
- Use little dots of glue for the leaves and bark and use a more generous amount for the twigs, acorns, and pine needles.
For a quick video visual, watch our TikTok!
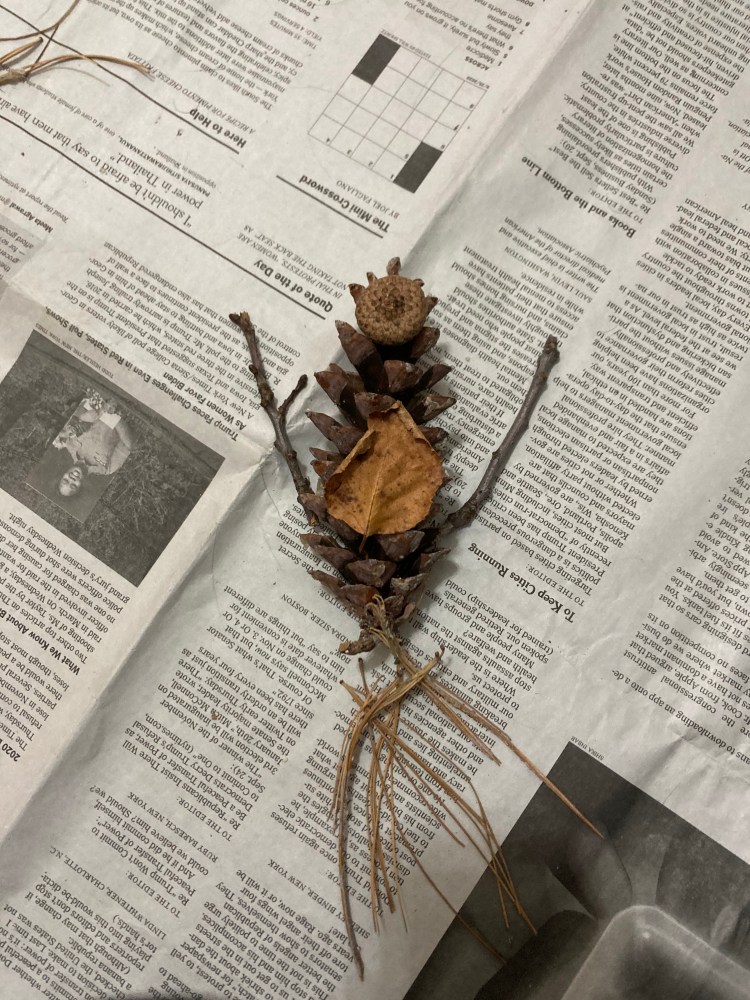
Step 5.1: Assemble the Tail
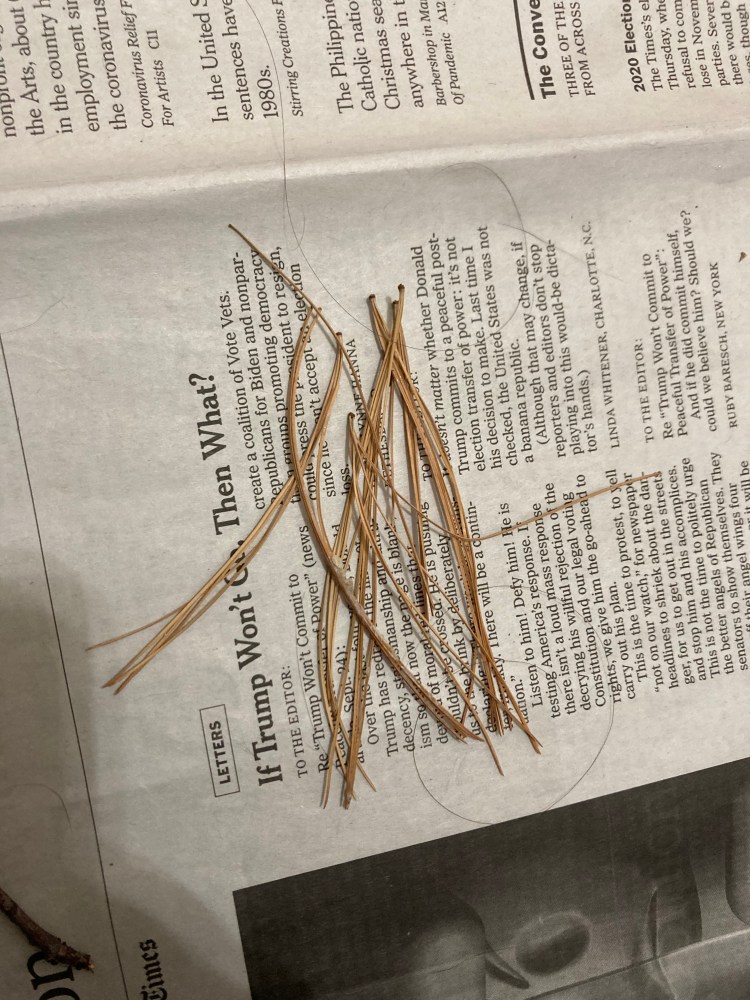
1. First, gather the pine needles together
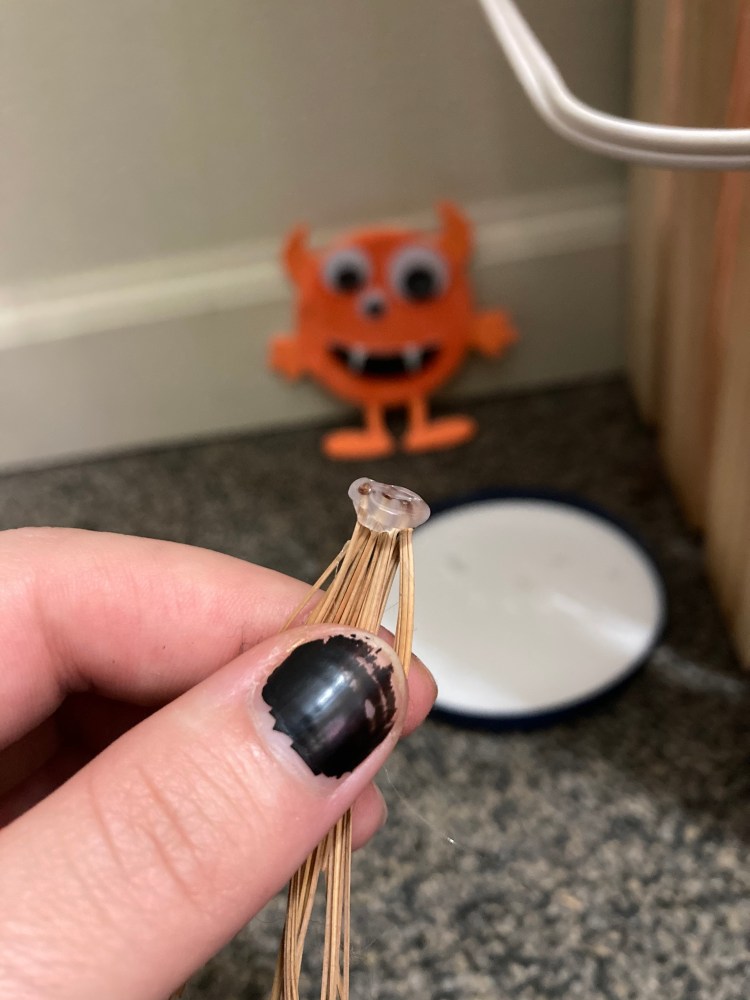
2. While holding the needles together at one end, take the glue gun and create a ring of glue around the ends
Now that you have this glued together, put a relatively large dot of glue on the center top the bundle that you just created, depicted in the sequence below.
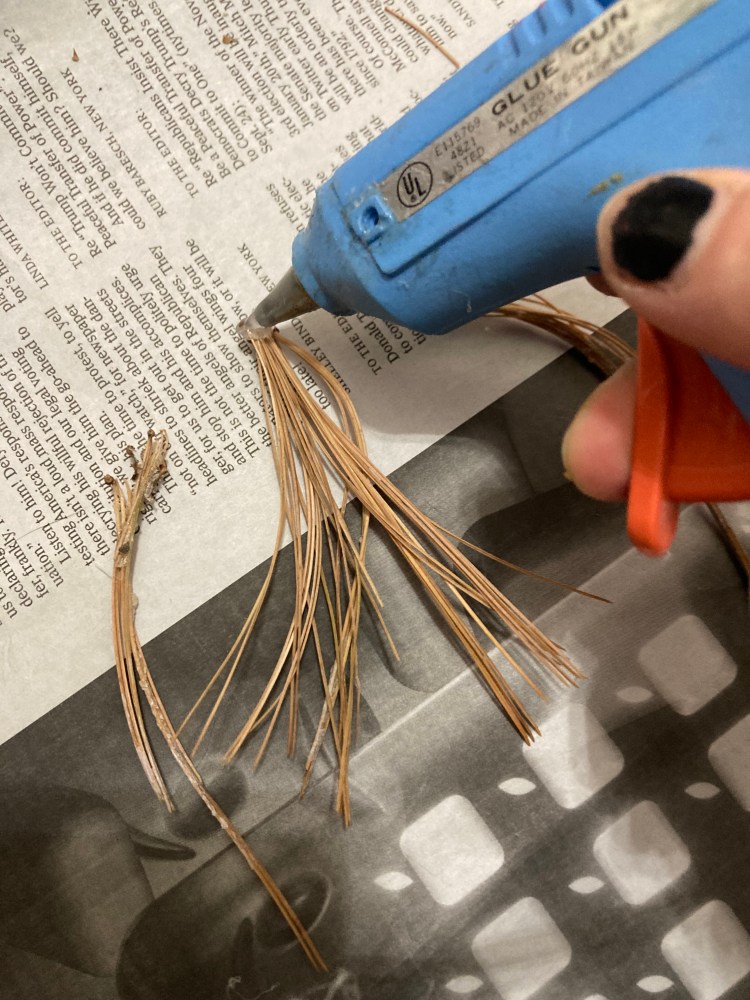

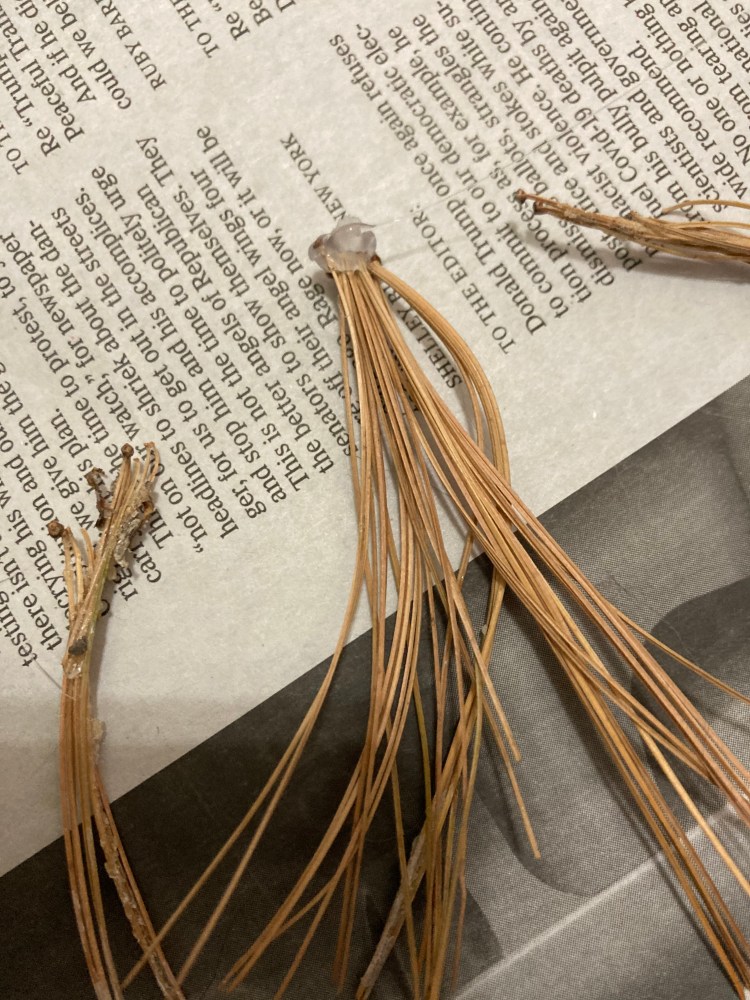
Once the glue has had a few seconds to dry, take the end pieces and press them into the glue.

1. Put a decent sized glob of glue on the end on the pine cone
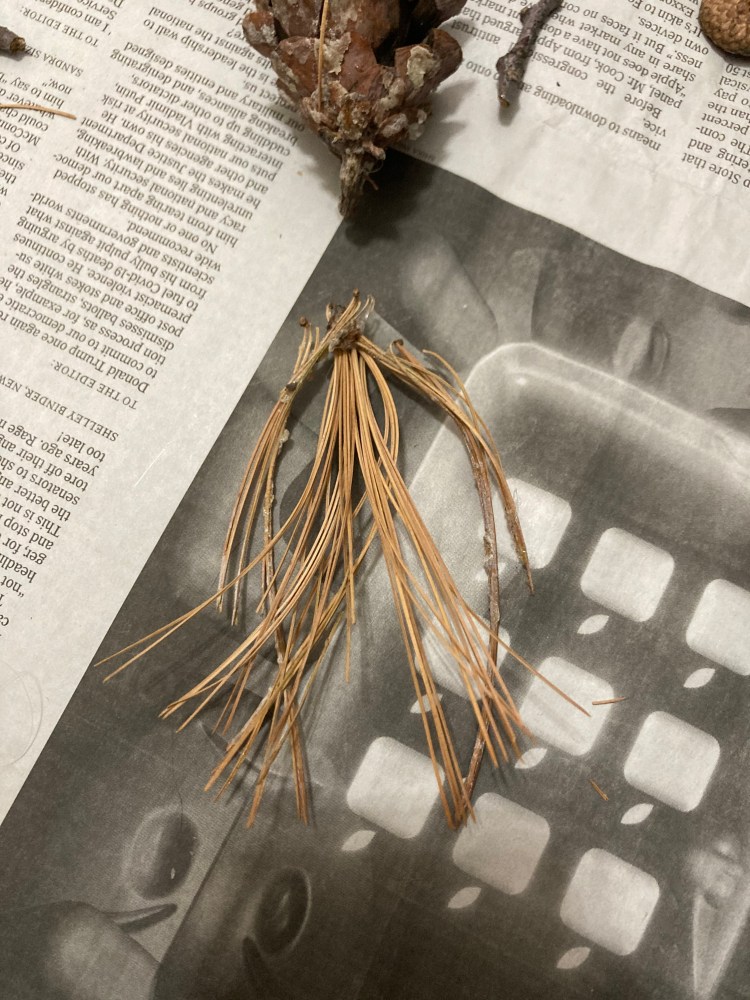
2. Taking the tail bundle, press the top of it into the glue dot
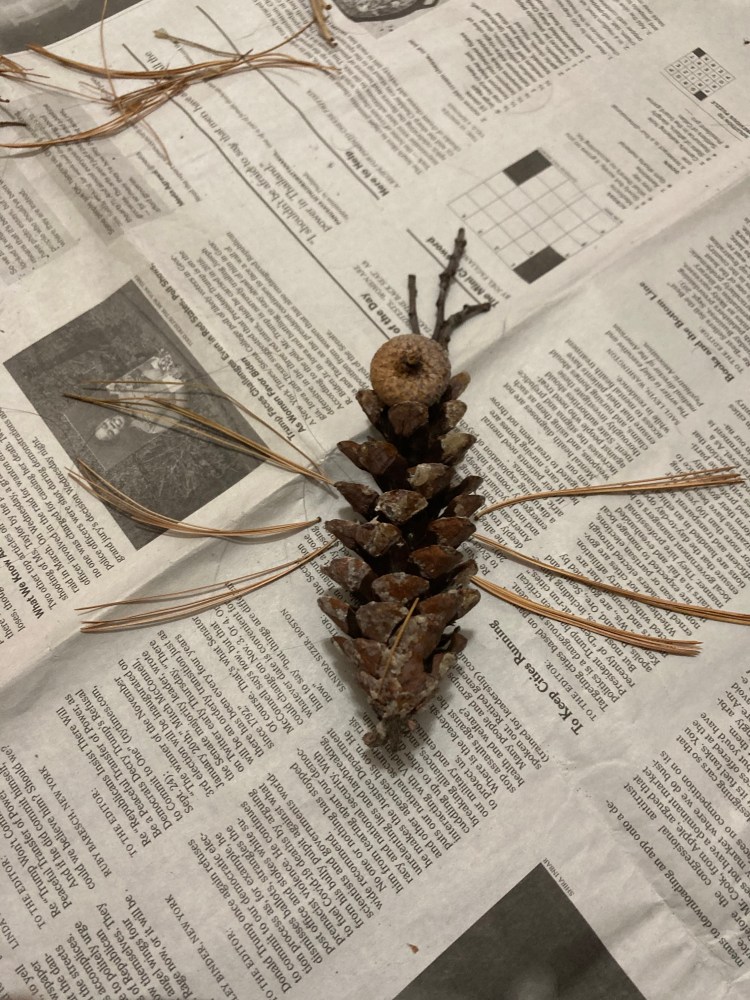
Step 5.2: Create the Limbs
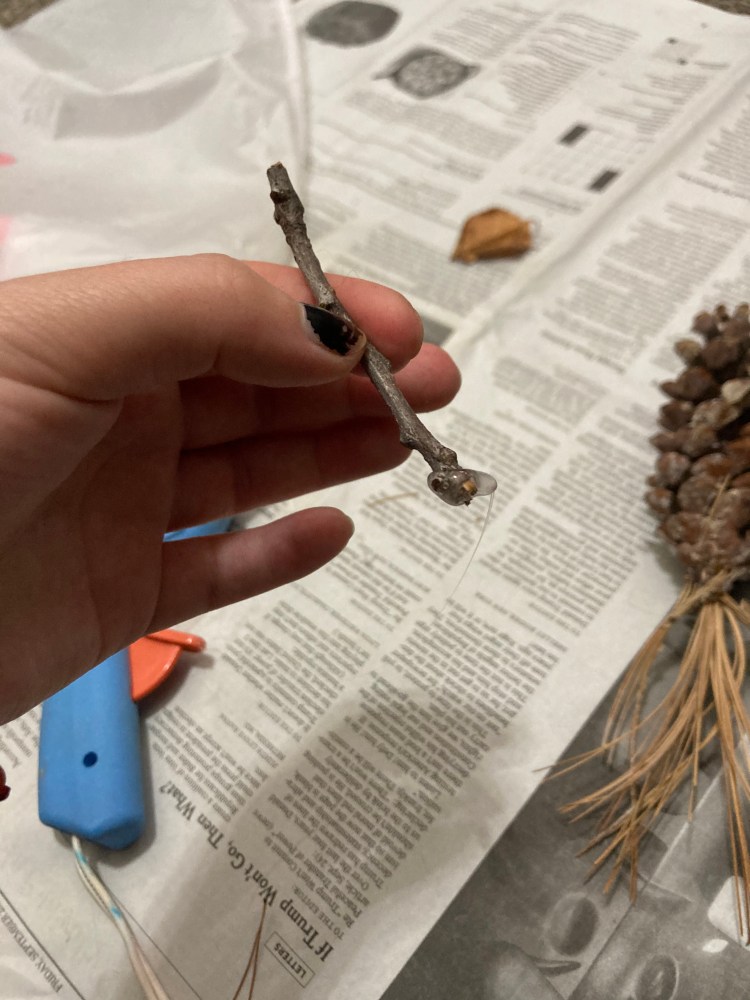
1. Take a twig & put a decent sized ring of glue around one end of the twig
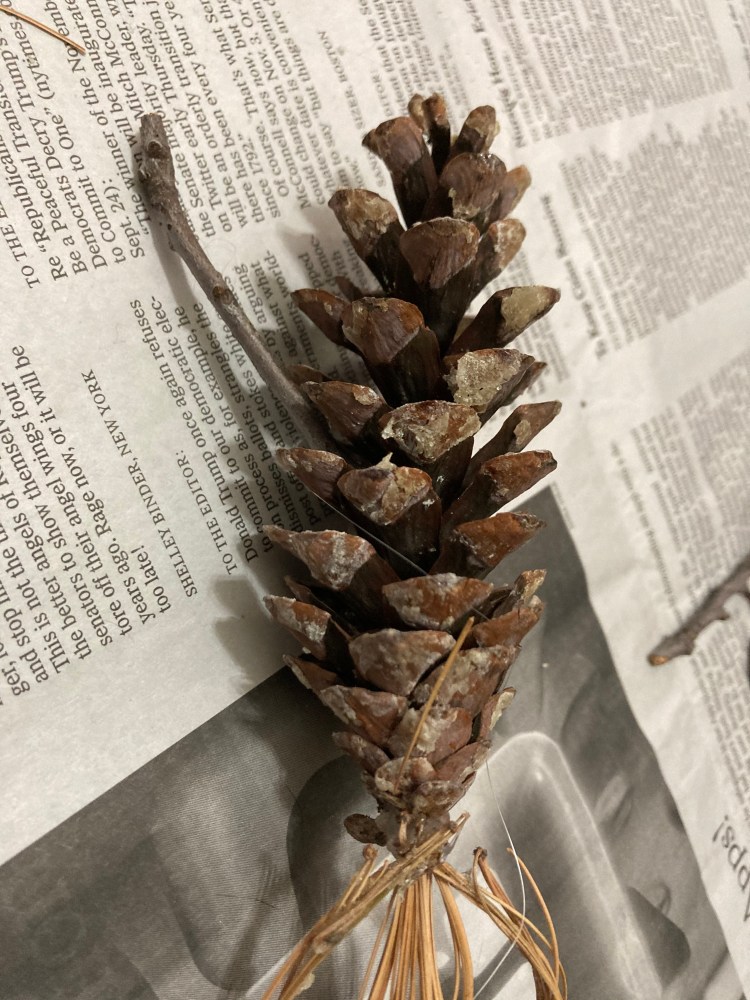
2. Once it dries, stick the side with the glue into the pinecone
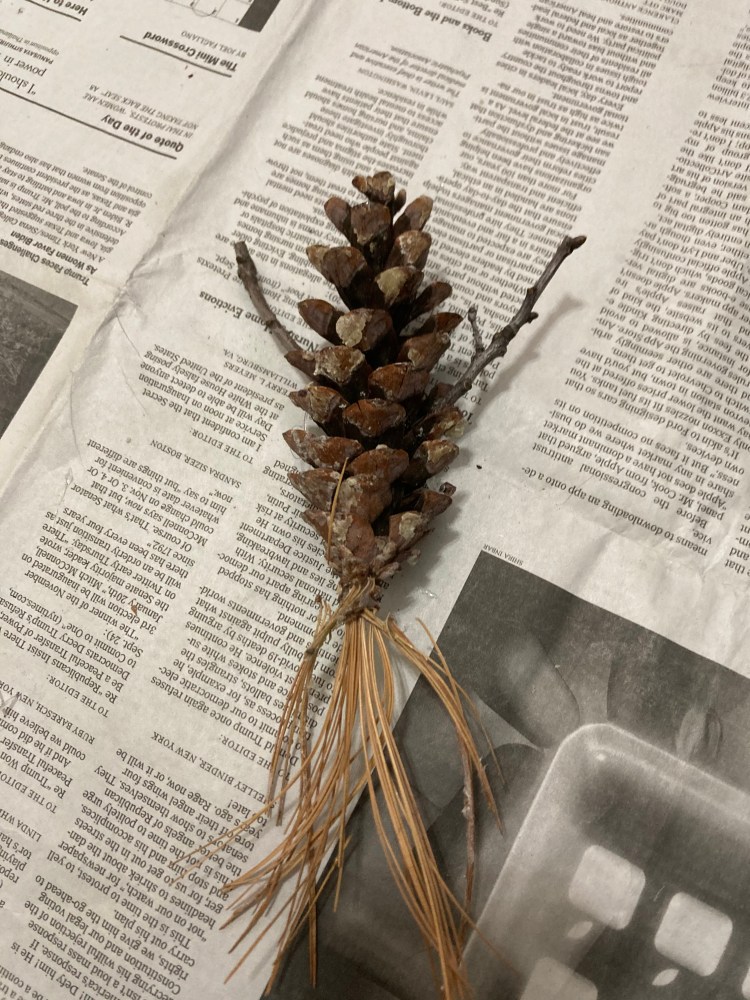
3. This is how it should look with both arms glued in
Step 5.3: Add the Main Body Features

1. Taking a small amount of glue, trace the shape of the leaf with the glue gun

2. Place it on the pinecone torso
Next up, add a face to the pinecone body.
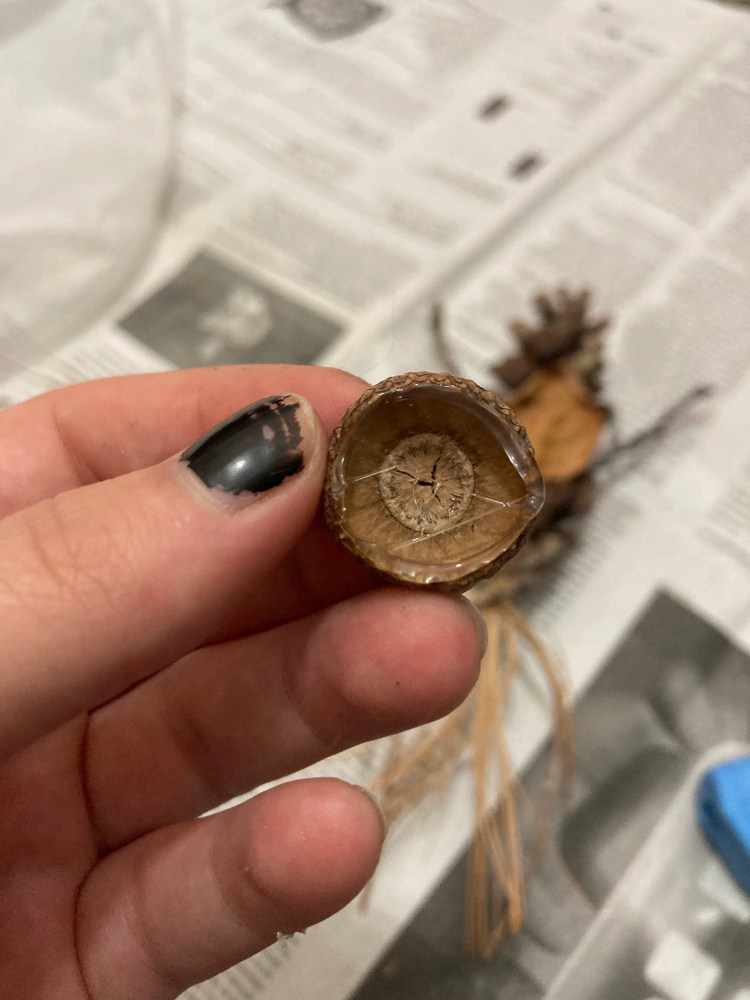
1. Taking an acorn cap, put a thin line of glue along the rim

2. Place the glued acorn cap to the top of the pinecone
Step 6
Now that your monster is all glued up and holding together, it is time to add the details using either the glitter or puffy paint.
- Using the Puffy Paint, place two dots for the eyes and make a mouth. If you want to add any other details, feel free! Your imagination has no bounds!
OPTIONAL: This is the step where you can incorporate the other objects such as buttons, googly eyes, beads or paint
We chose to use both puffy paint and glitter.
Step 6.1: Adding the Facial Features
SUGGESTION: Test out the puffy paint on a scrap piece of paper. Testing it out will allow you to see how much or how little you should use. Once you’ve practiced a bit and are satisfied with the paint coming out of the tube, you are ready to start painting on your masterpiece!
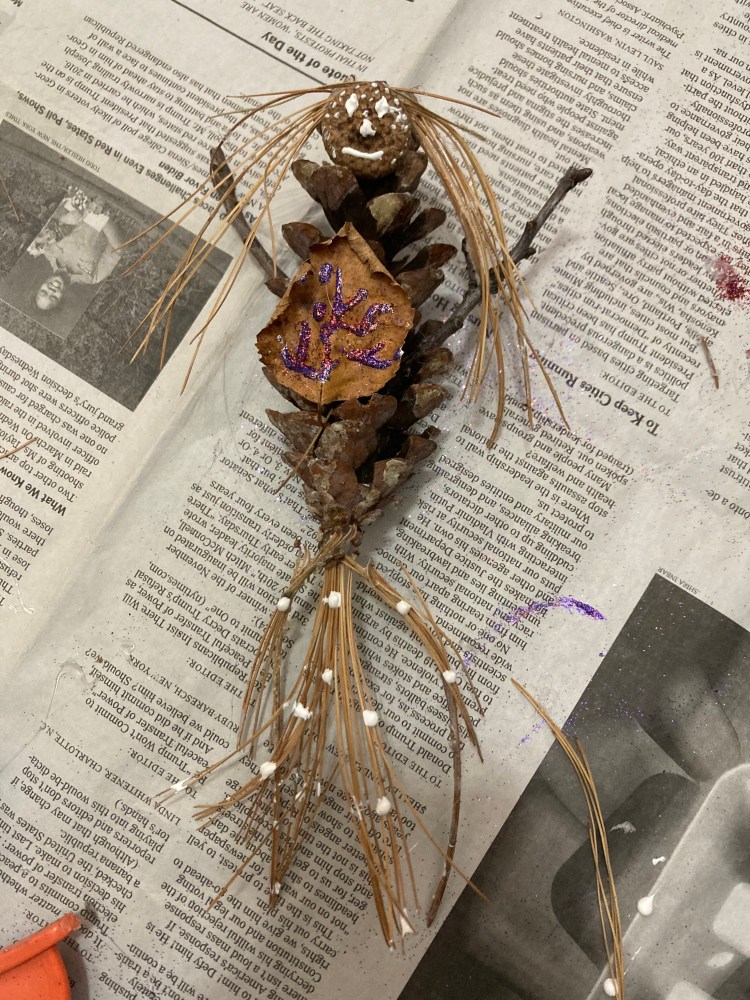
Taking the puffy paint, gently squeeze the tube to get small dots for eyes and a thin mouth. Then, take the puffy paint and trace the leaf veins. We put dots on the tail, too.

This is how you should angle the paint tube when using it

Pricilla is coming together!
Step 6.2: Adding Hair
Pricilla was missing something, so we added some pine needles to the head of the monster.
Putting a small amount of hot glue on the crown of the head, we added loose pine needles to create flowing hair. We repeated the process using loose pine needles until Priscilla had a full head of hair.
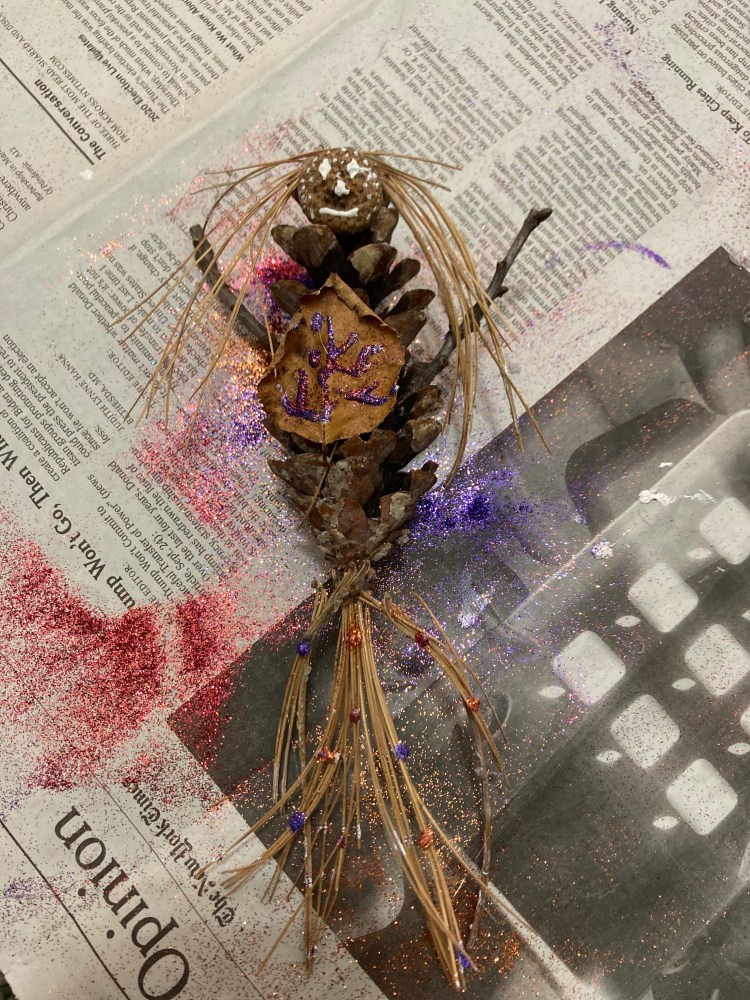
Step 6.3: Making Her Shine
The last step is to add glitter! Taking each tube of glitter, we tapped the tube near the area we wanted to sparkle. Priscila the Monstrous Mermaid felt pretty as can be!
Step 7: Share a Photo!
Take a picture and share your creation with us!
You can find us on all social media (Facebook, Twitter, Instagram, and TikTok) at @RainGardenUIUC

Ariel Gomez is a senior Majoring in Technical Systems Management and double minoring in Natural Resource Conservation and the ISEE Fellows Program. Over summer 2020, Ariel decided to start her own website where she hand makes little cositas such as hair clips, mini jewelry boxes, jewelry, and many other things. The purpose of her company is to upcycle and reuse products and to send out a positive vibe to the world through her art.
